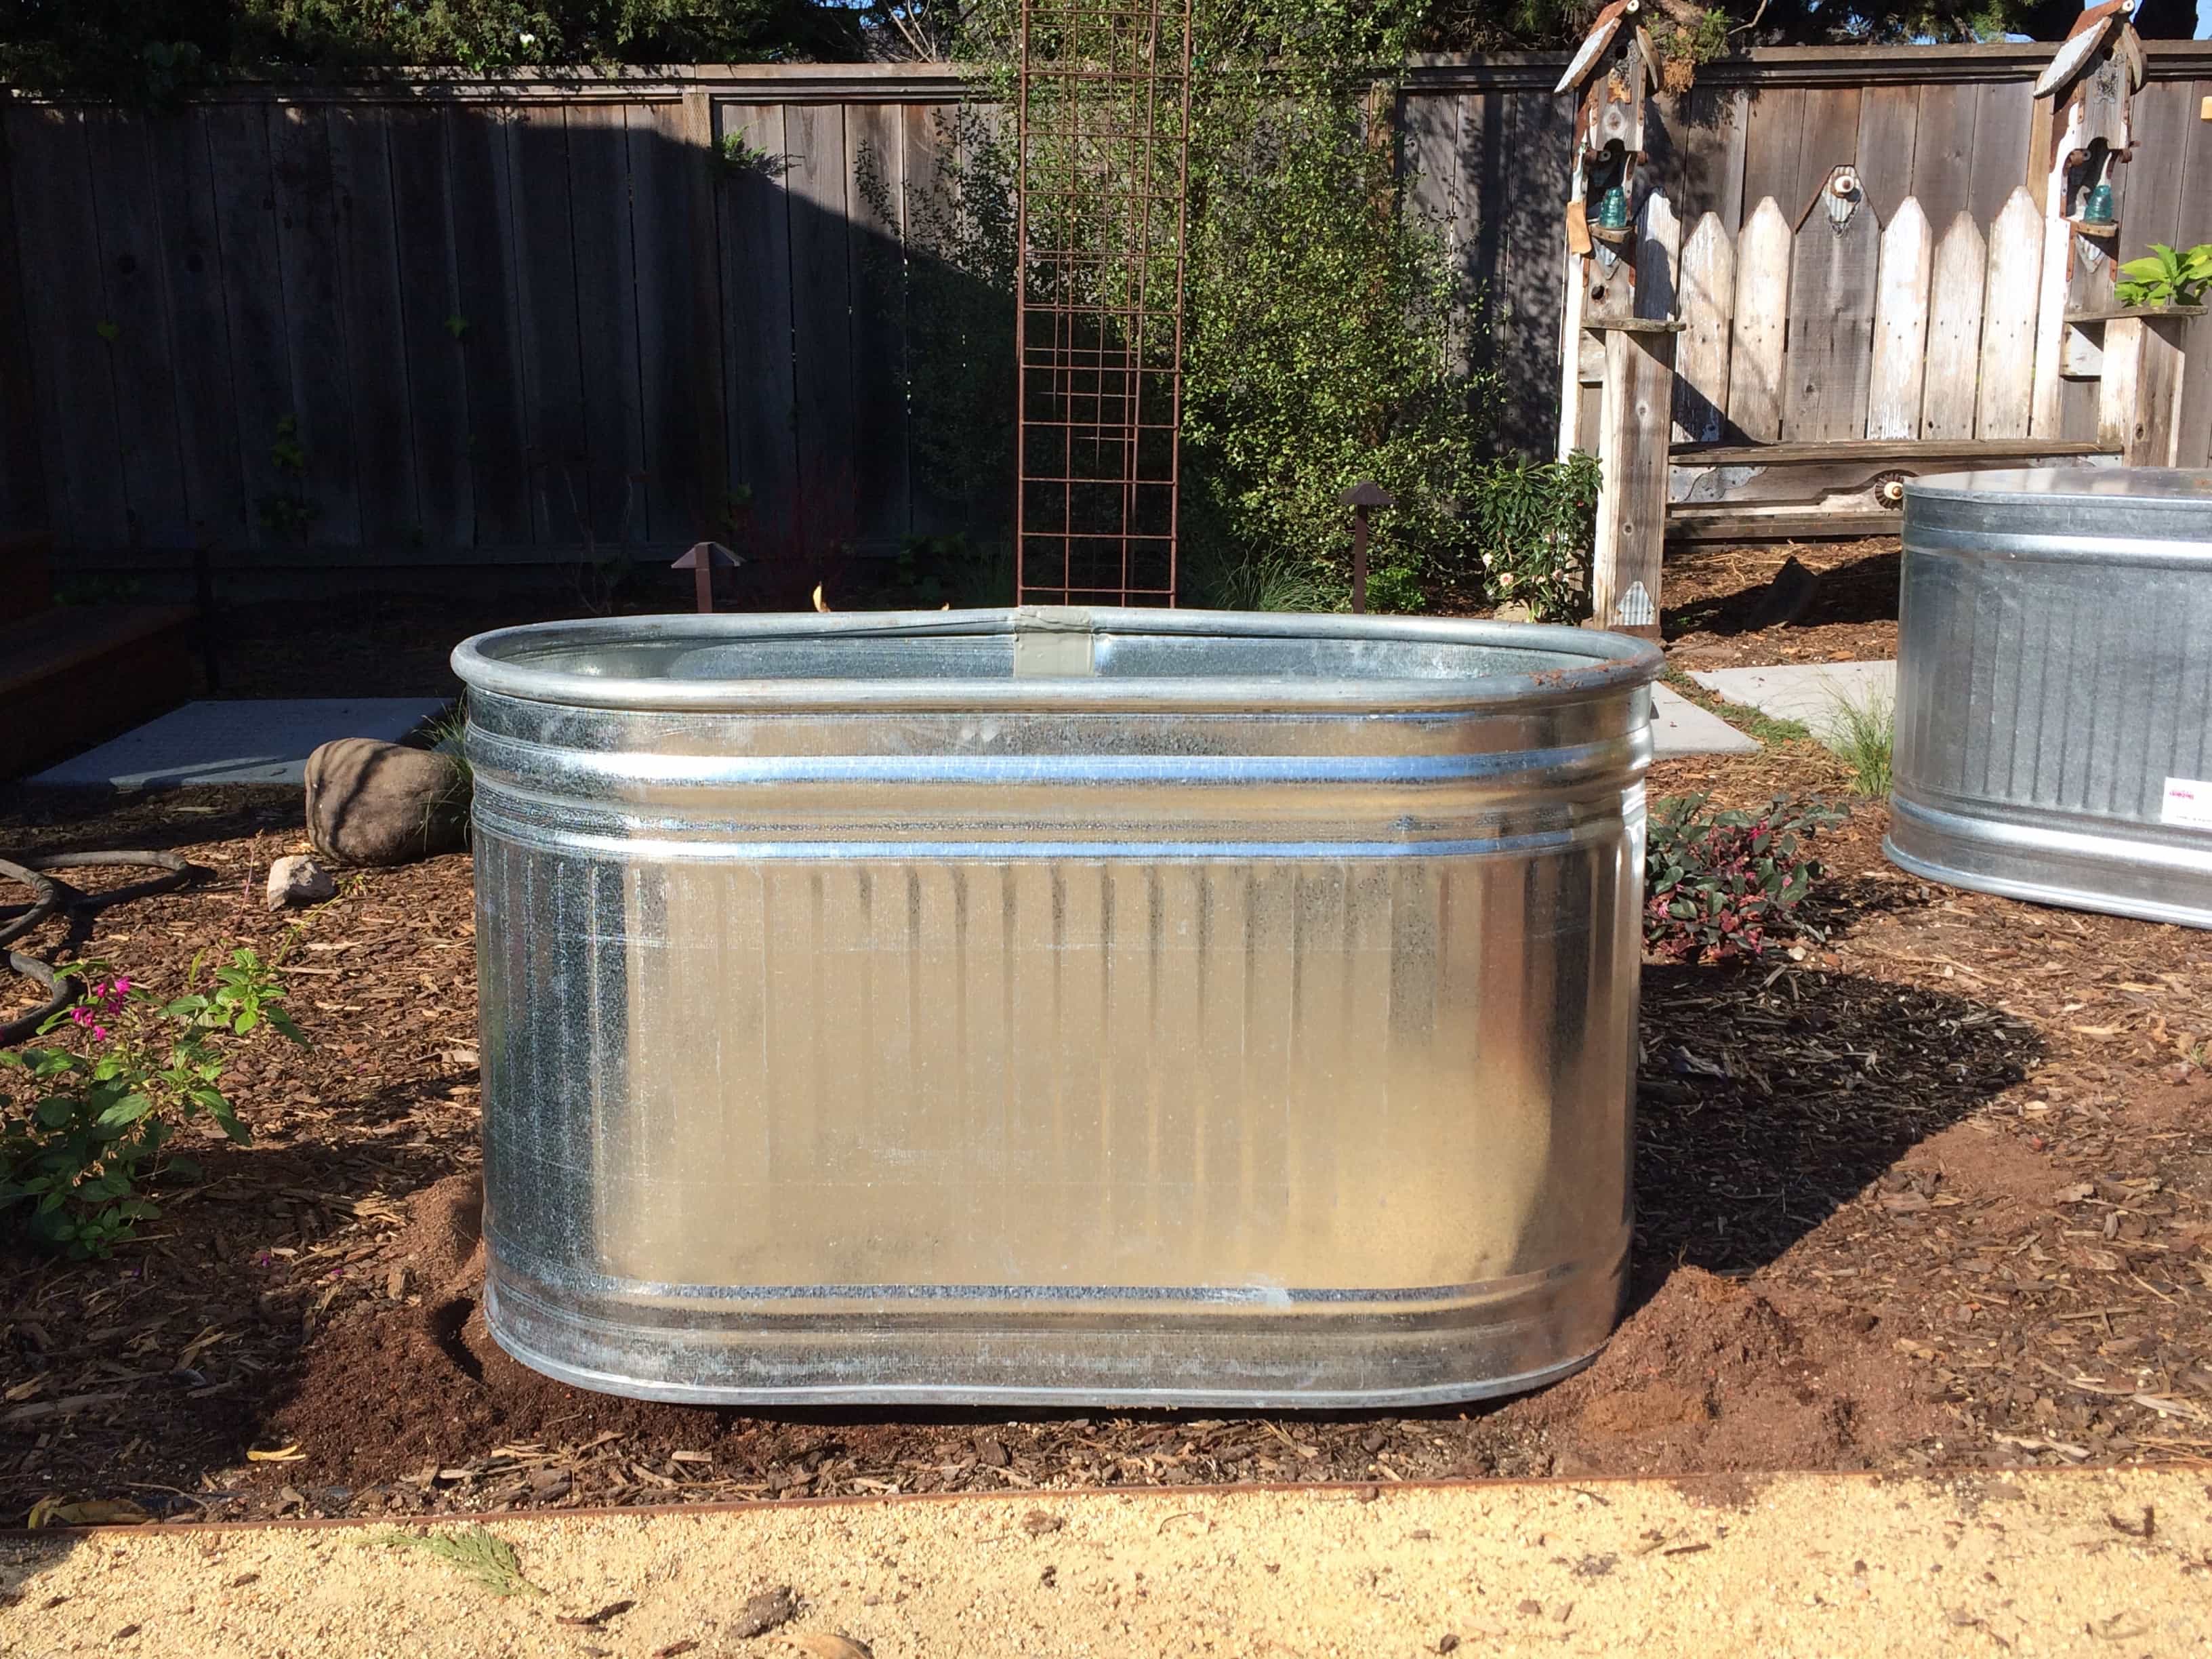
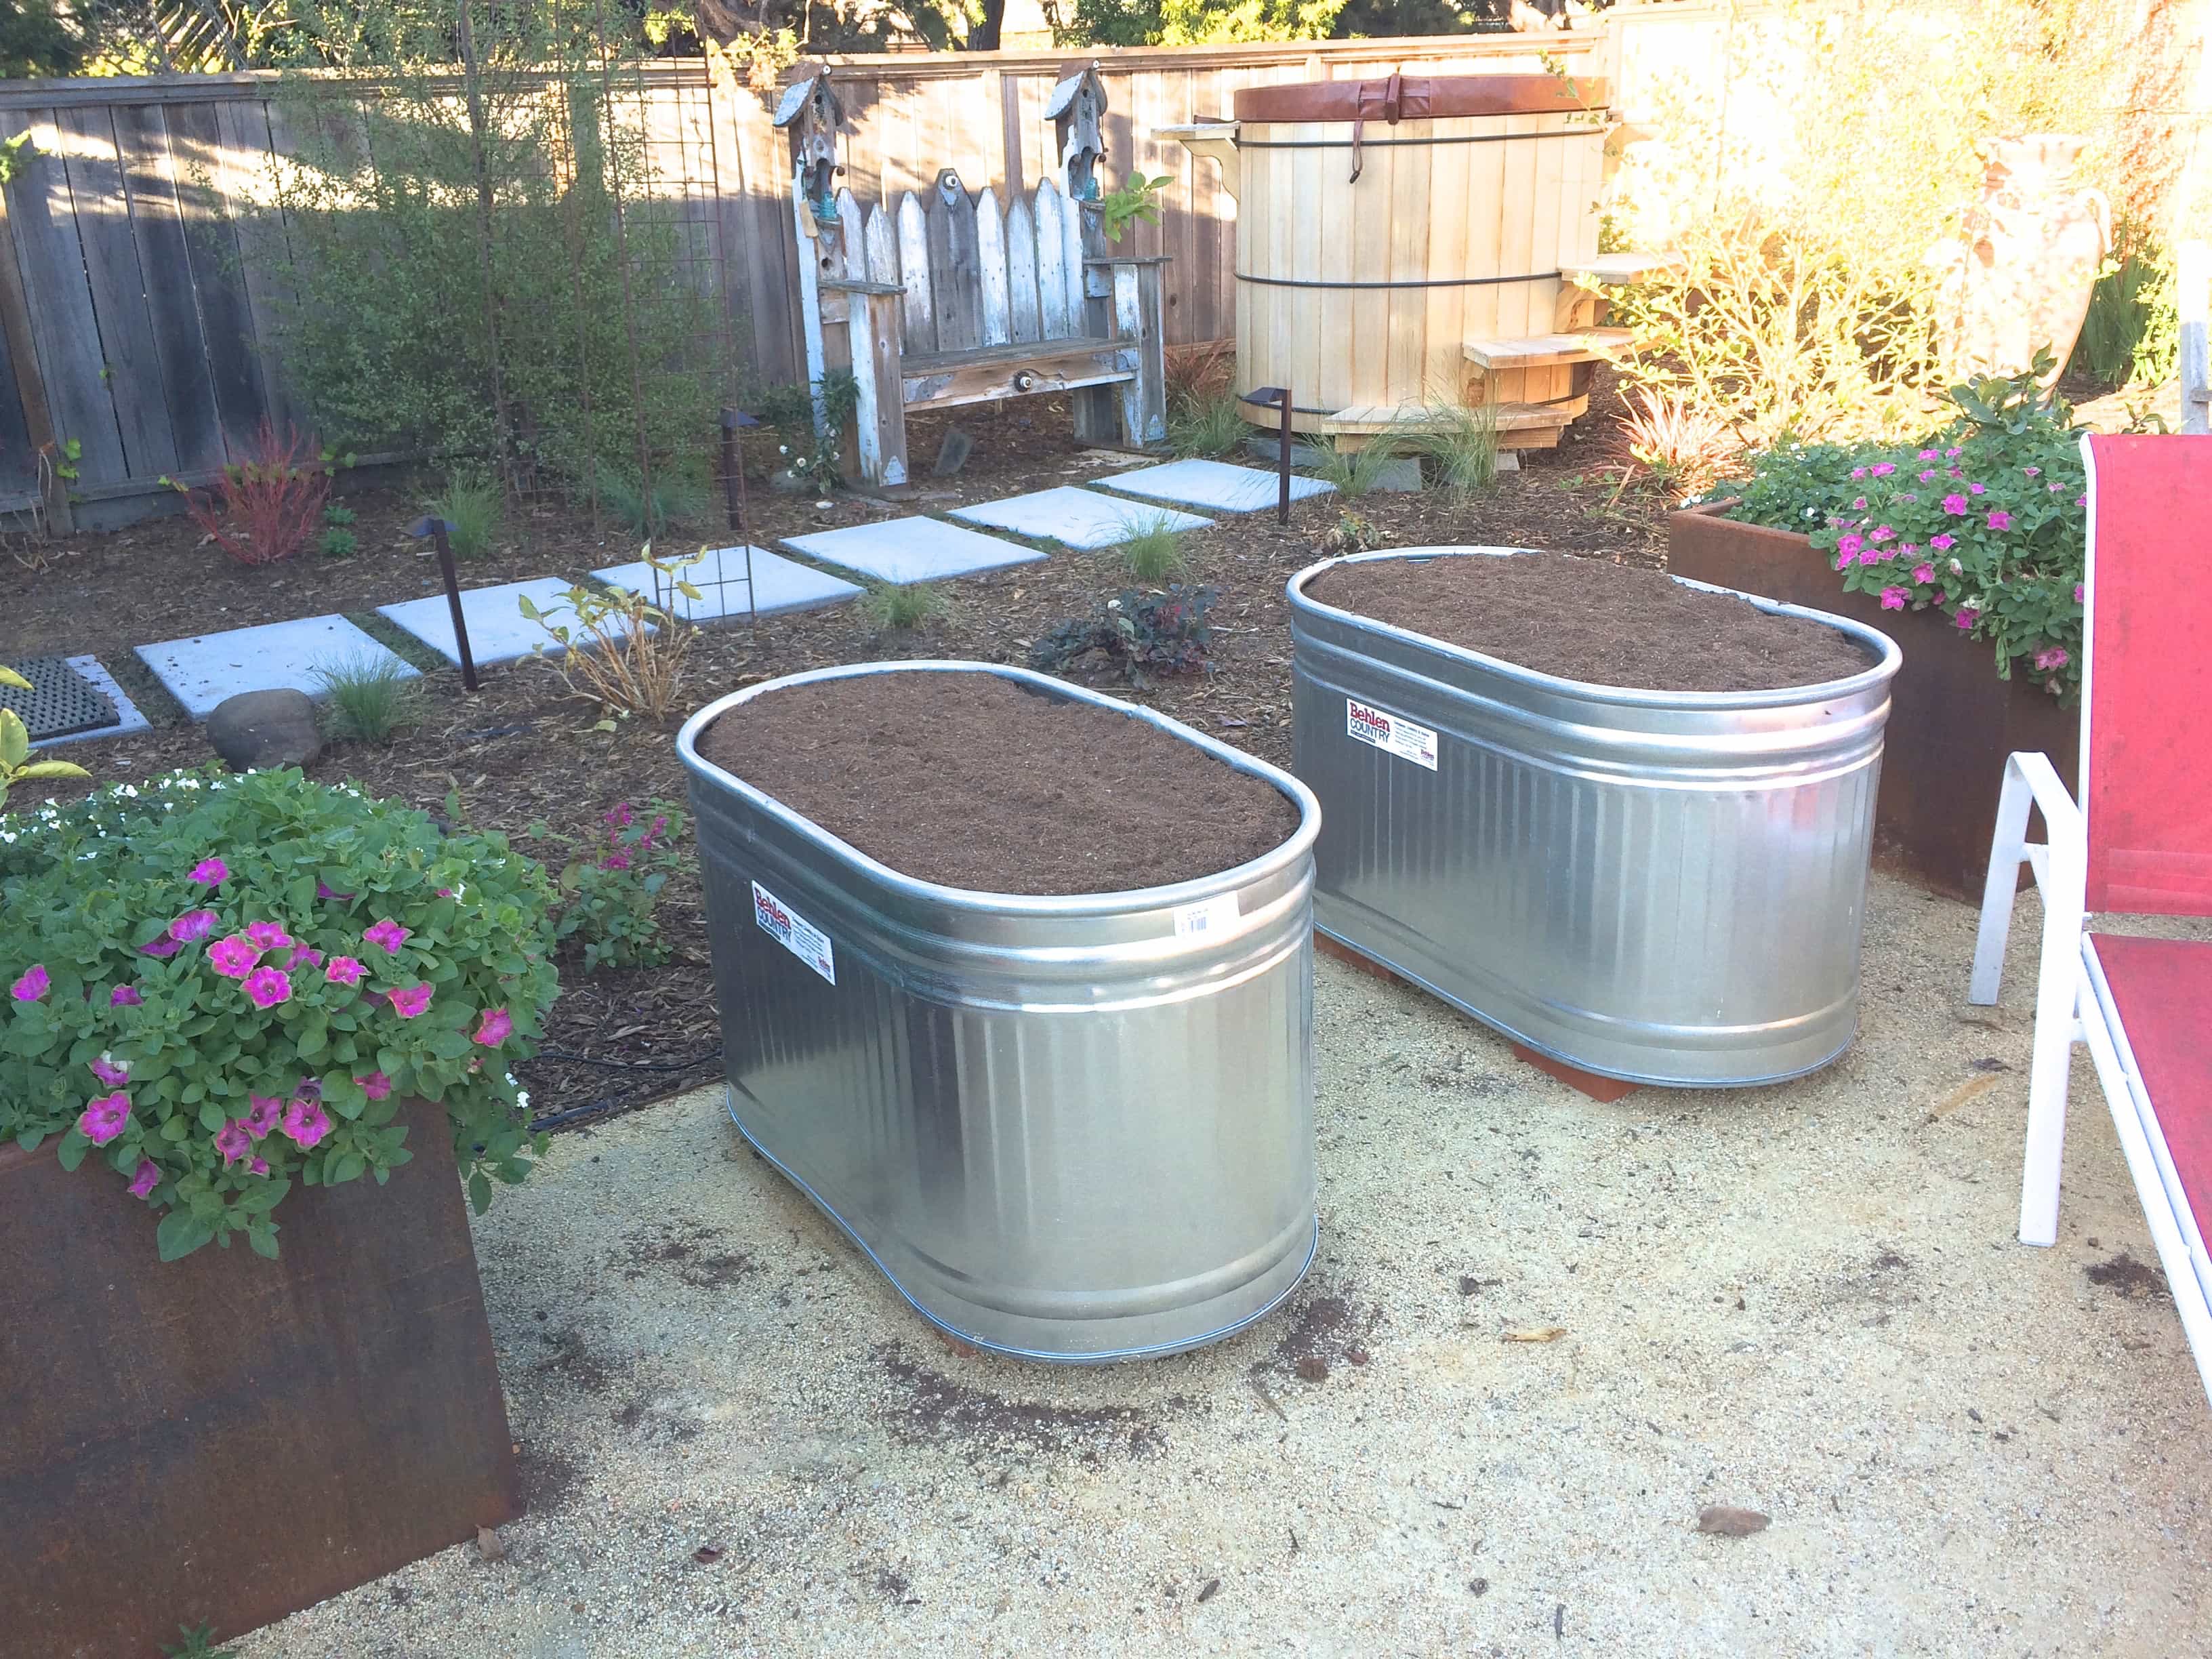
When my husband and I remodeled and expanded our home last year, my beloved rear garden was sacrificed in favor of a large new patio, hot tub, and other professional landscaping. This meant that this spring, I needed to get busy installing some free-standing veggie beds! My old redwood raised beds had gone down the block to live in a neighbor’s rear yard, and I wanted to experiment with something new and fun. I bought some galvanized stock tanks, the kind used to provide water for livestock. Mine are 2X4 foot ovals, but they come in a variety of sizes. I got mine for about $80 at Friedman’s Home Improvement in Petaluma, but unfortunately Friedman’s does not have a good website showing the actual product.
I turned the tanks upside down and drilled drainage holes through the metal with my biggest drill bit, about half and inch:

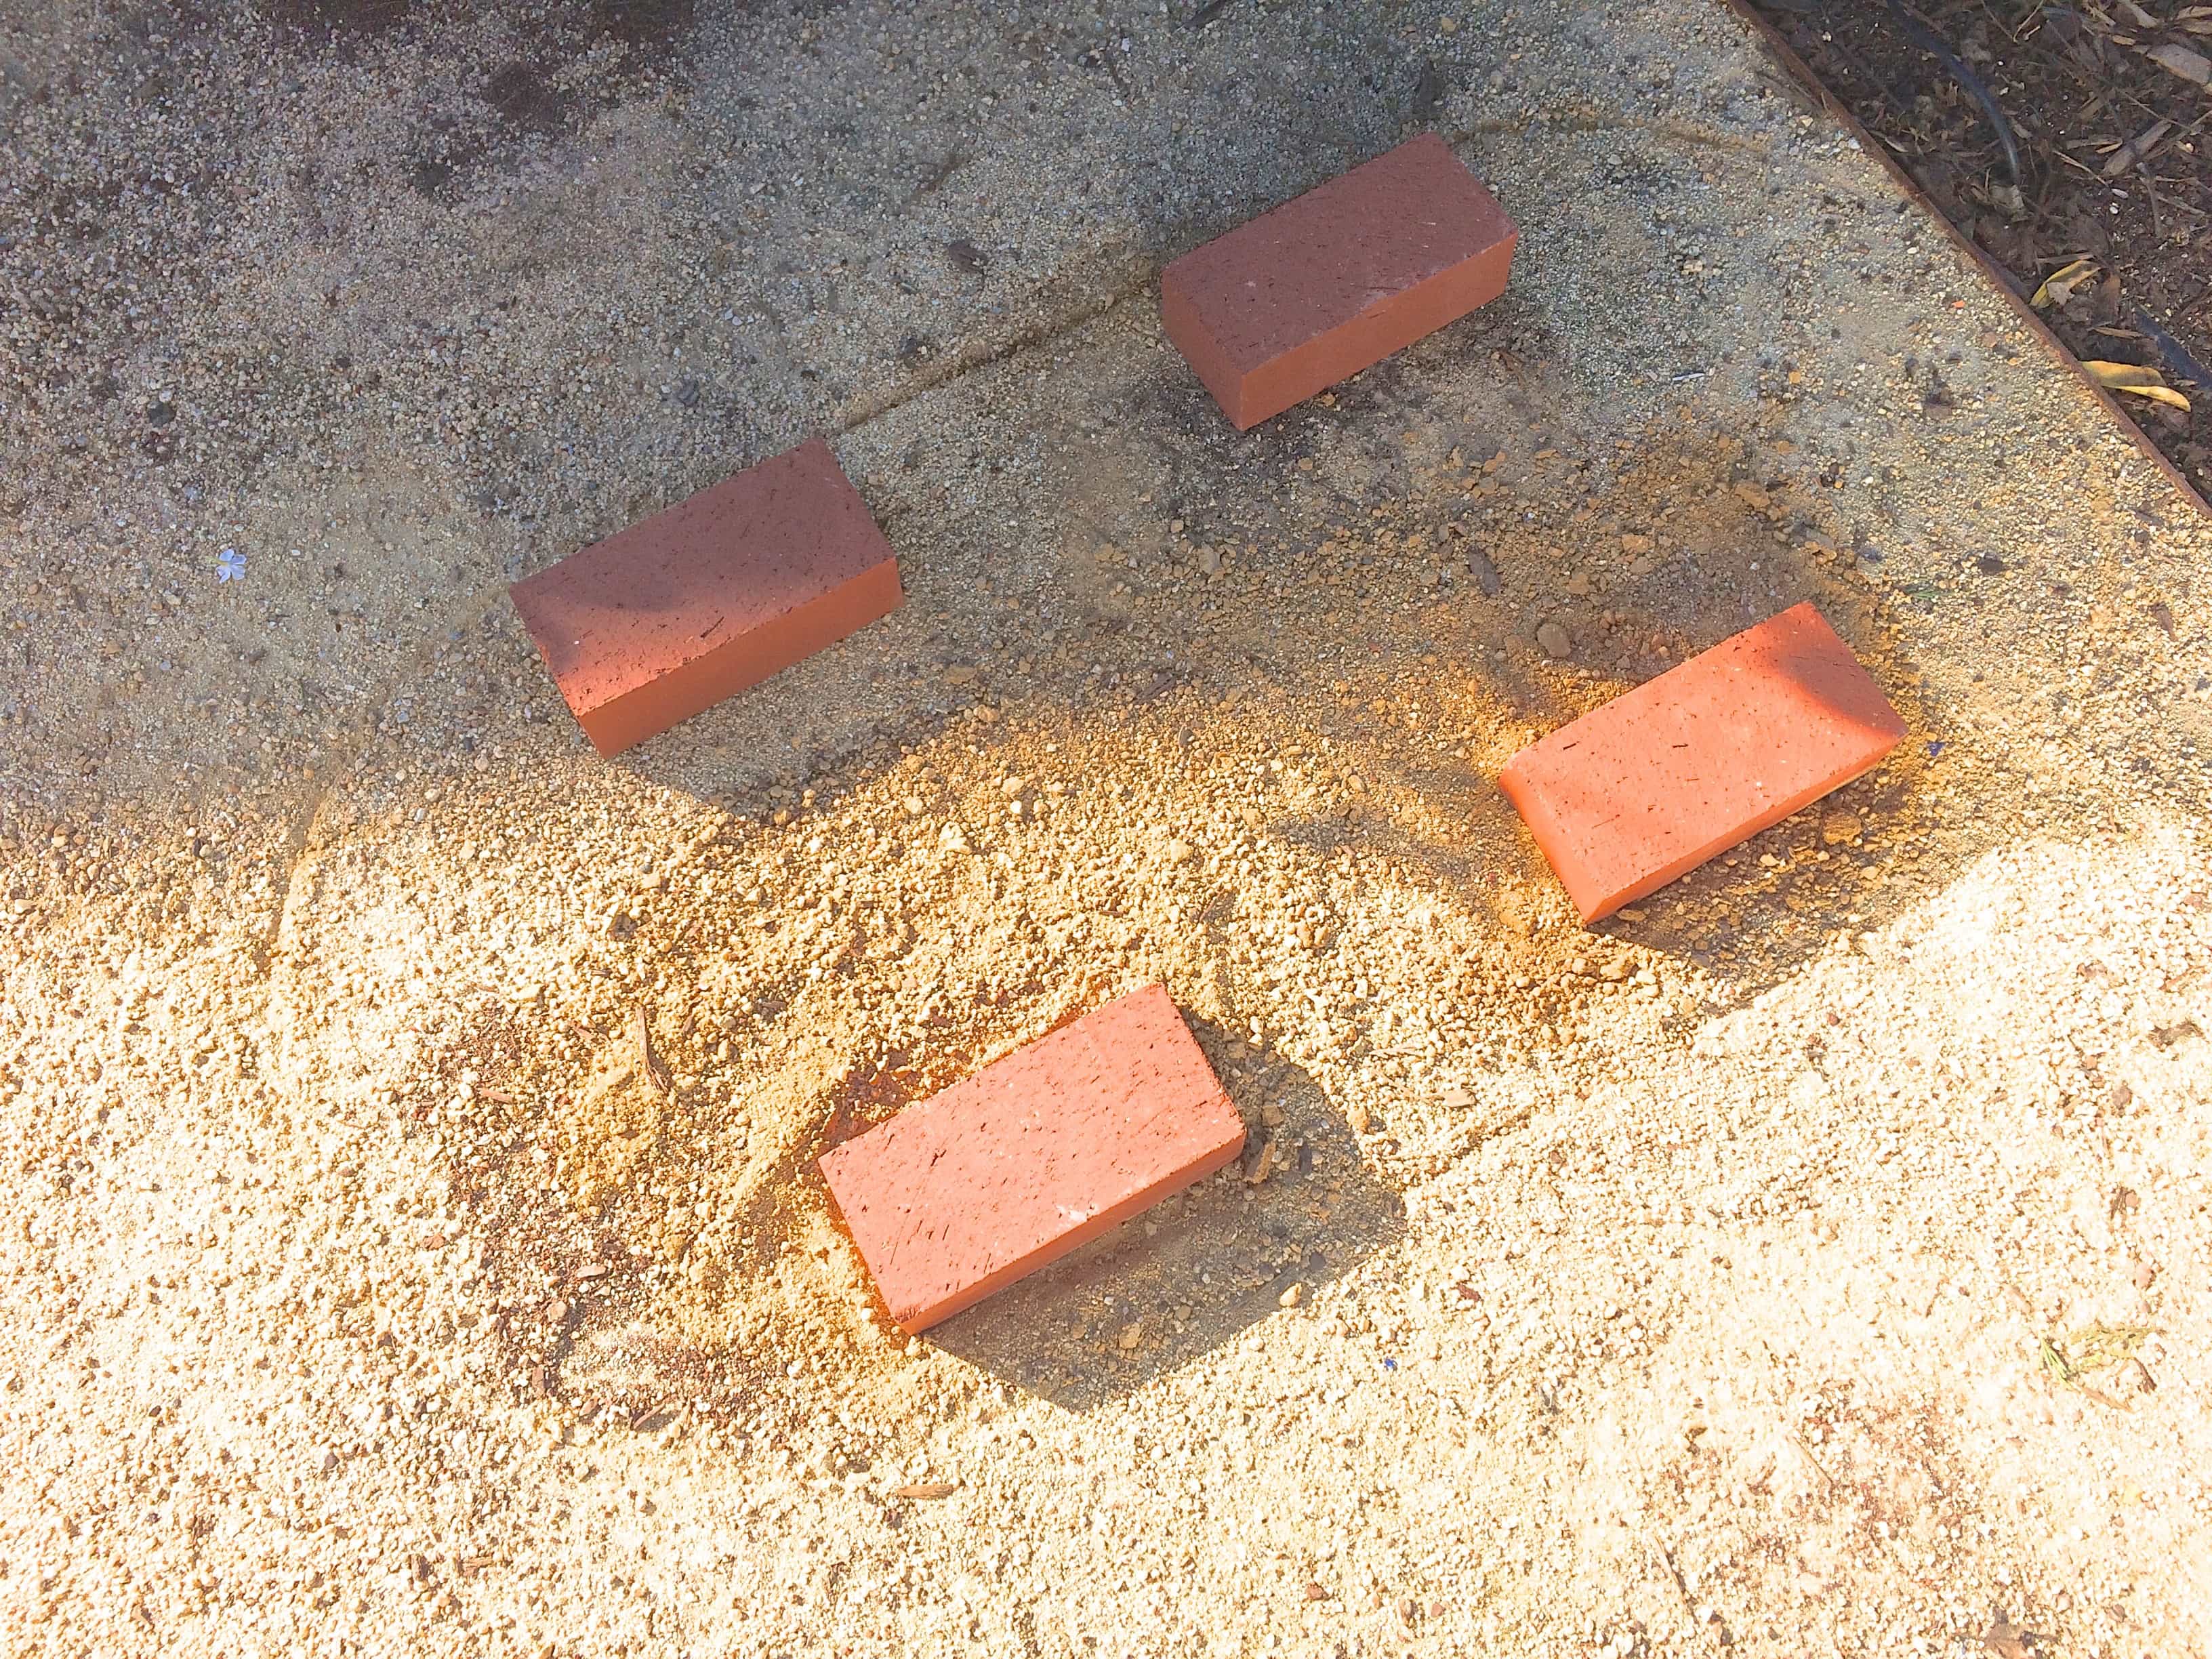
To prepare the site, I took my 4-foot level and a trowel, and scraped away the decomposed granite of my patio surface until I had 4 level pads to set bricks onto. Having the tanks raised off the ground means better drainage.
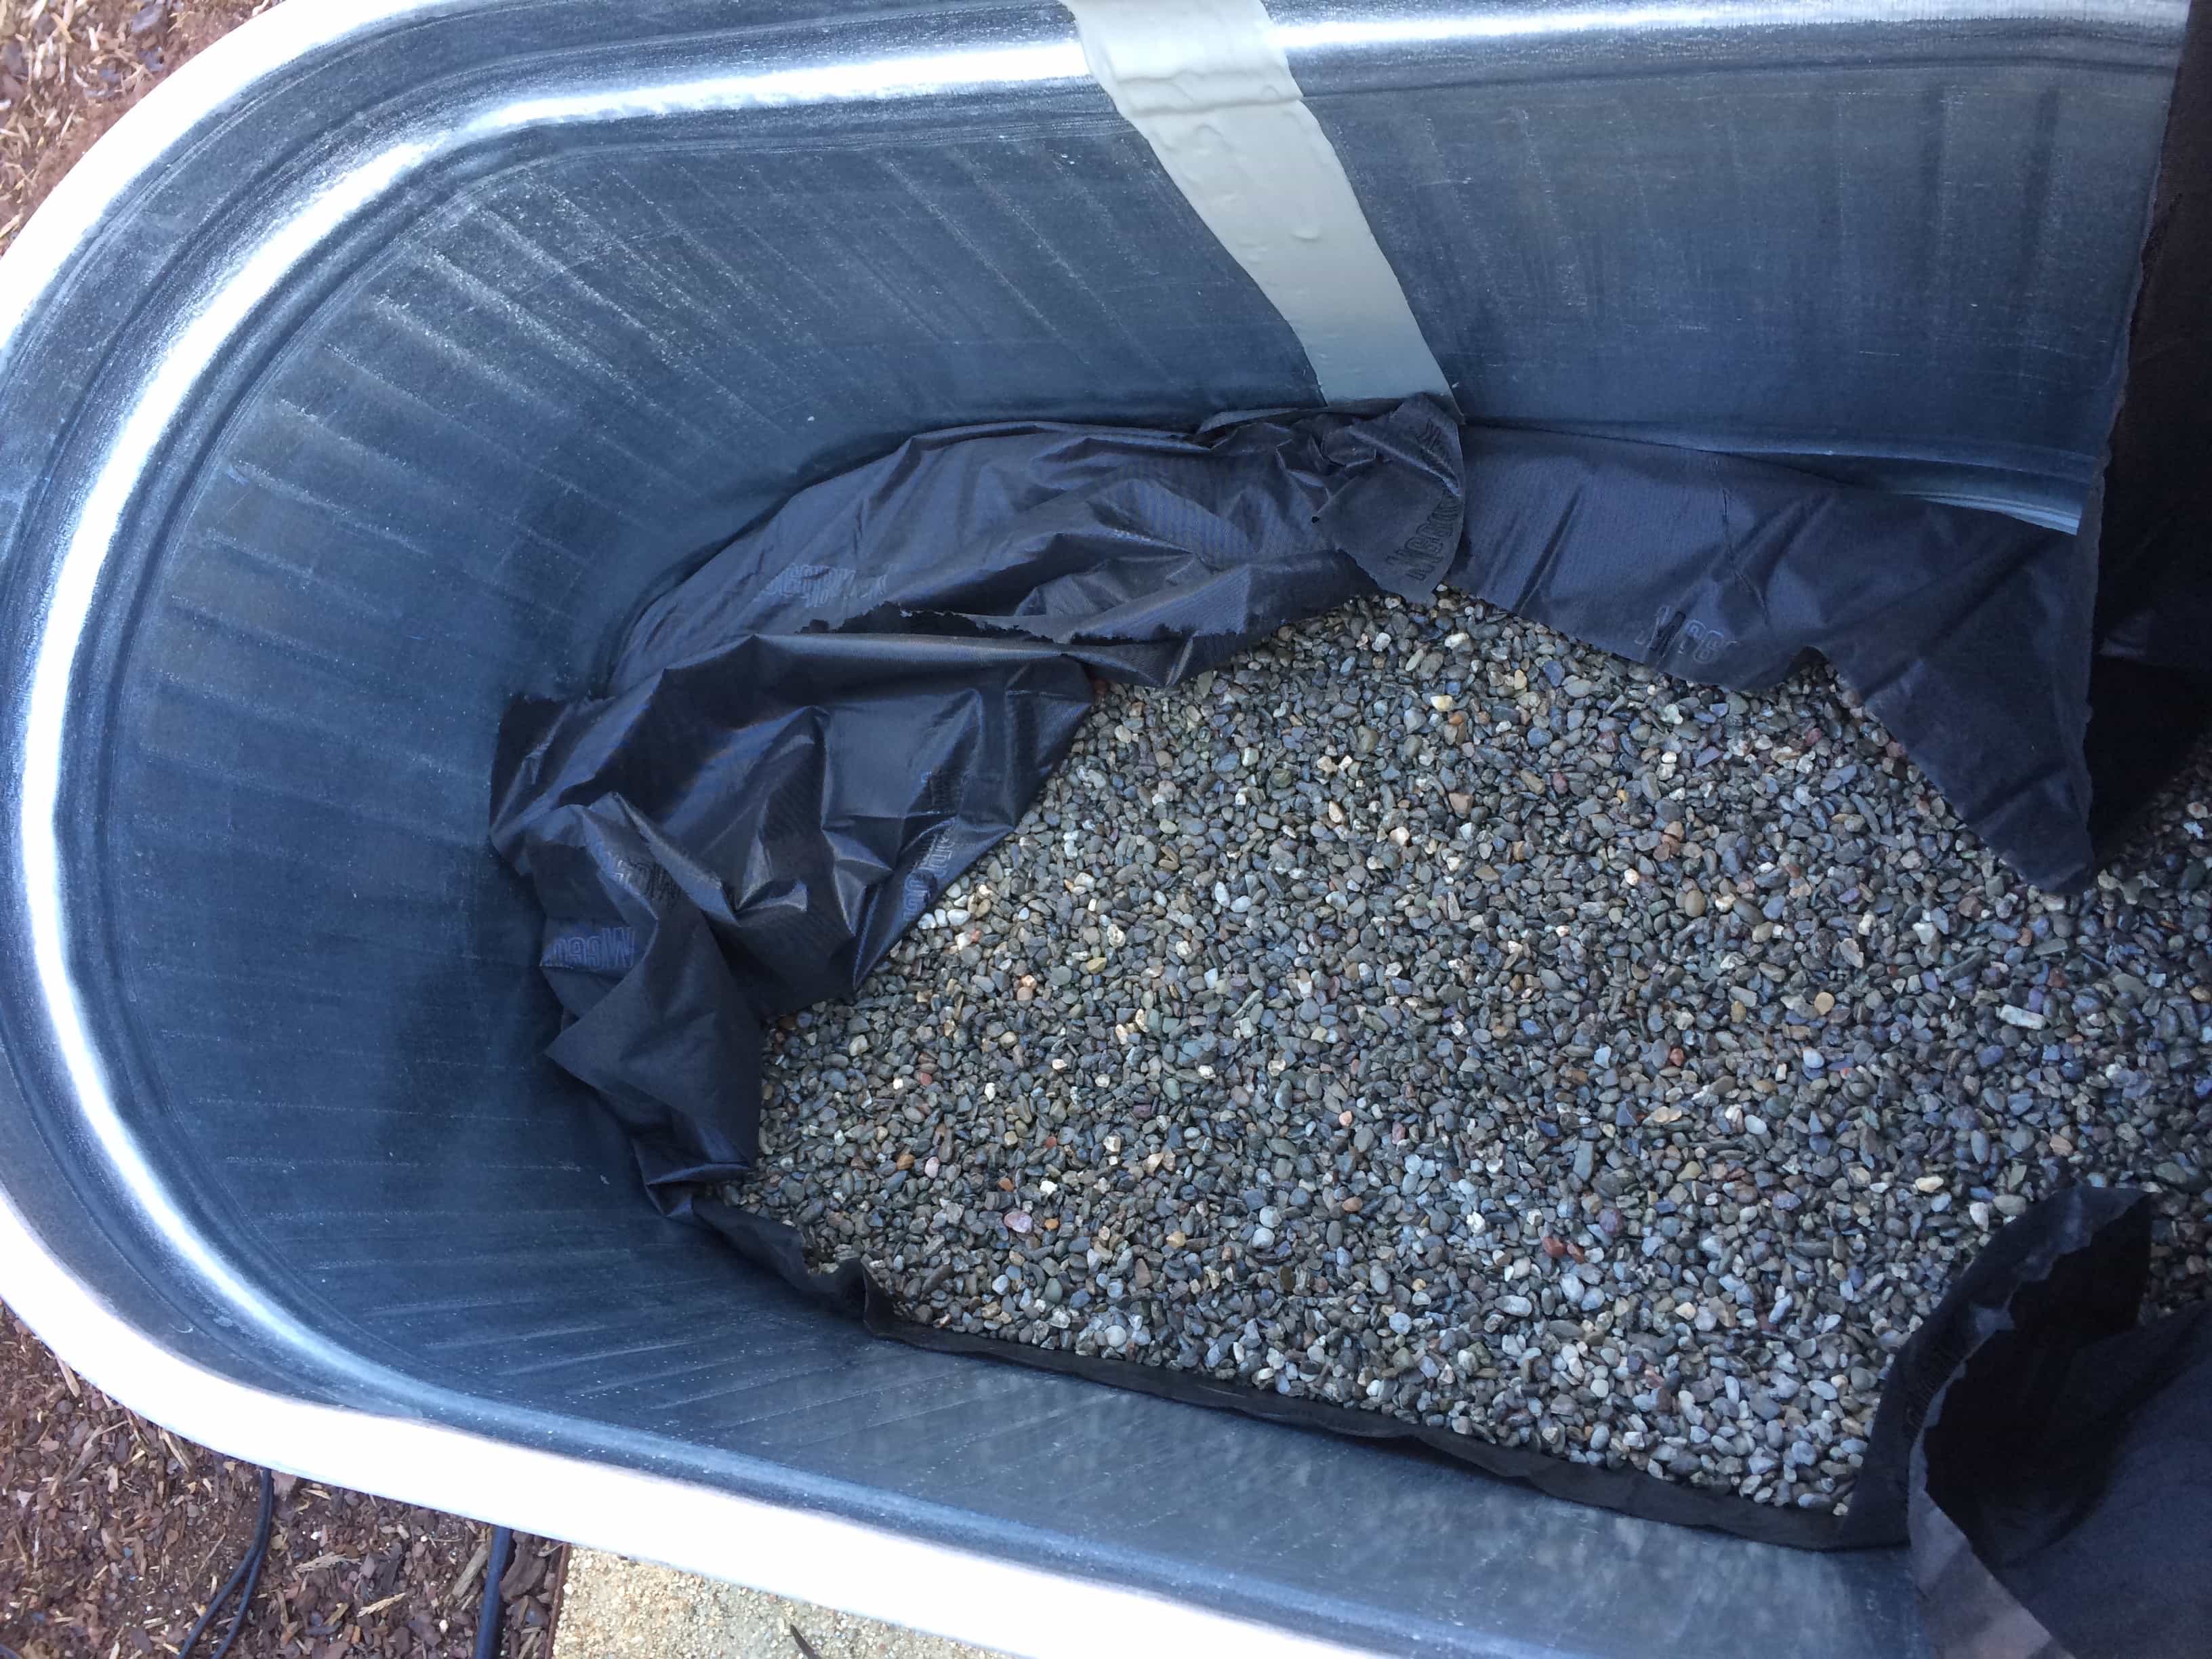
After setting the tanks onto the brick feet, I taped some landscaping fabric into the base and poured in about 4 inches of pea gravel. The gravel is for drainage, and wrapping the gravel layer in fabric will allow me to easily remove it in the future if necessary.
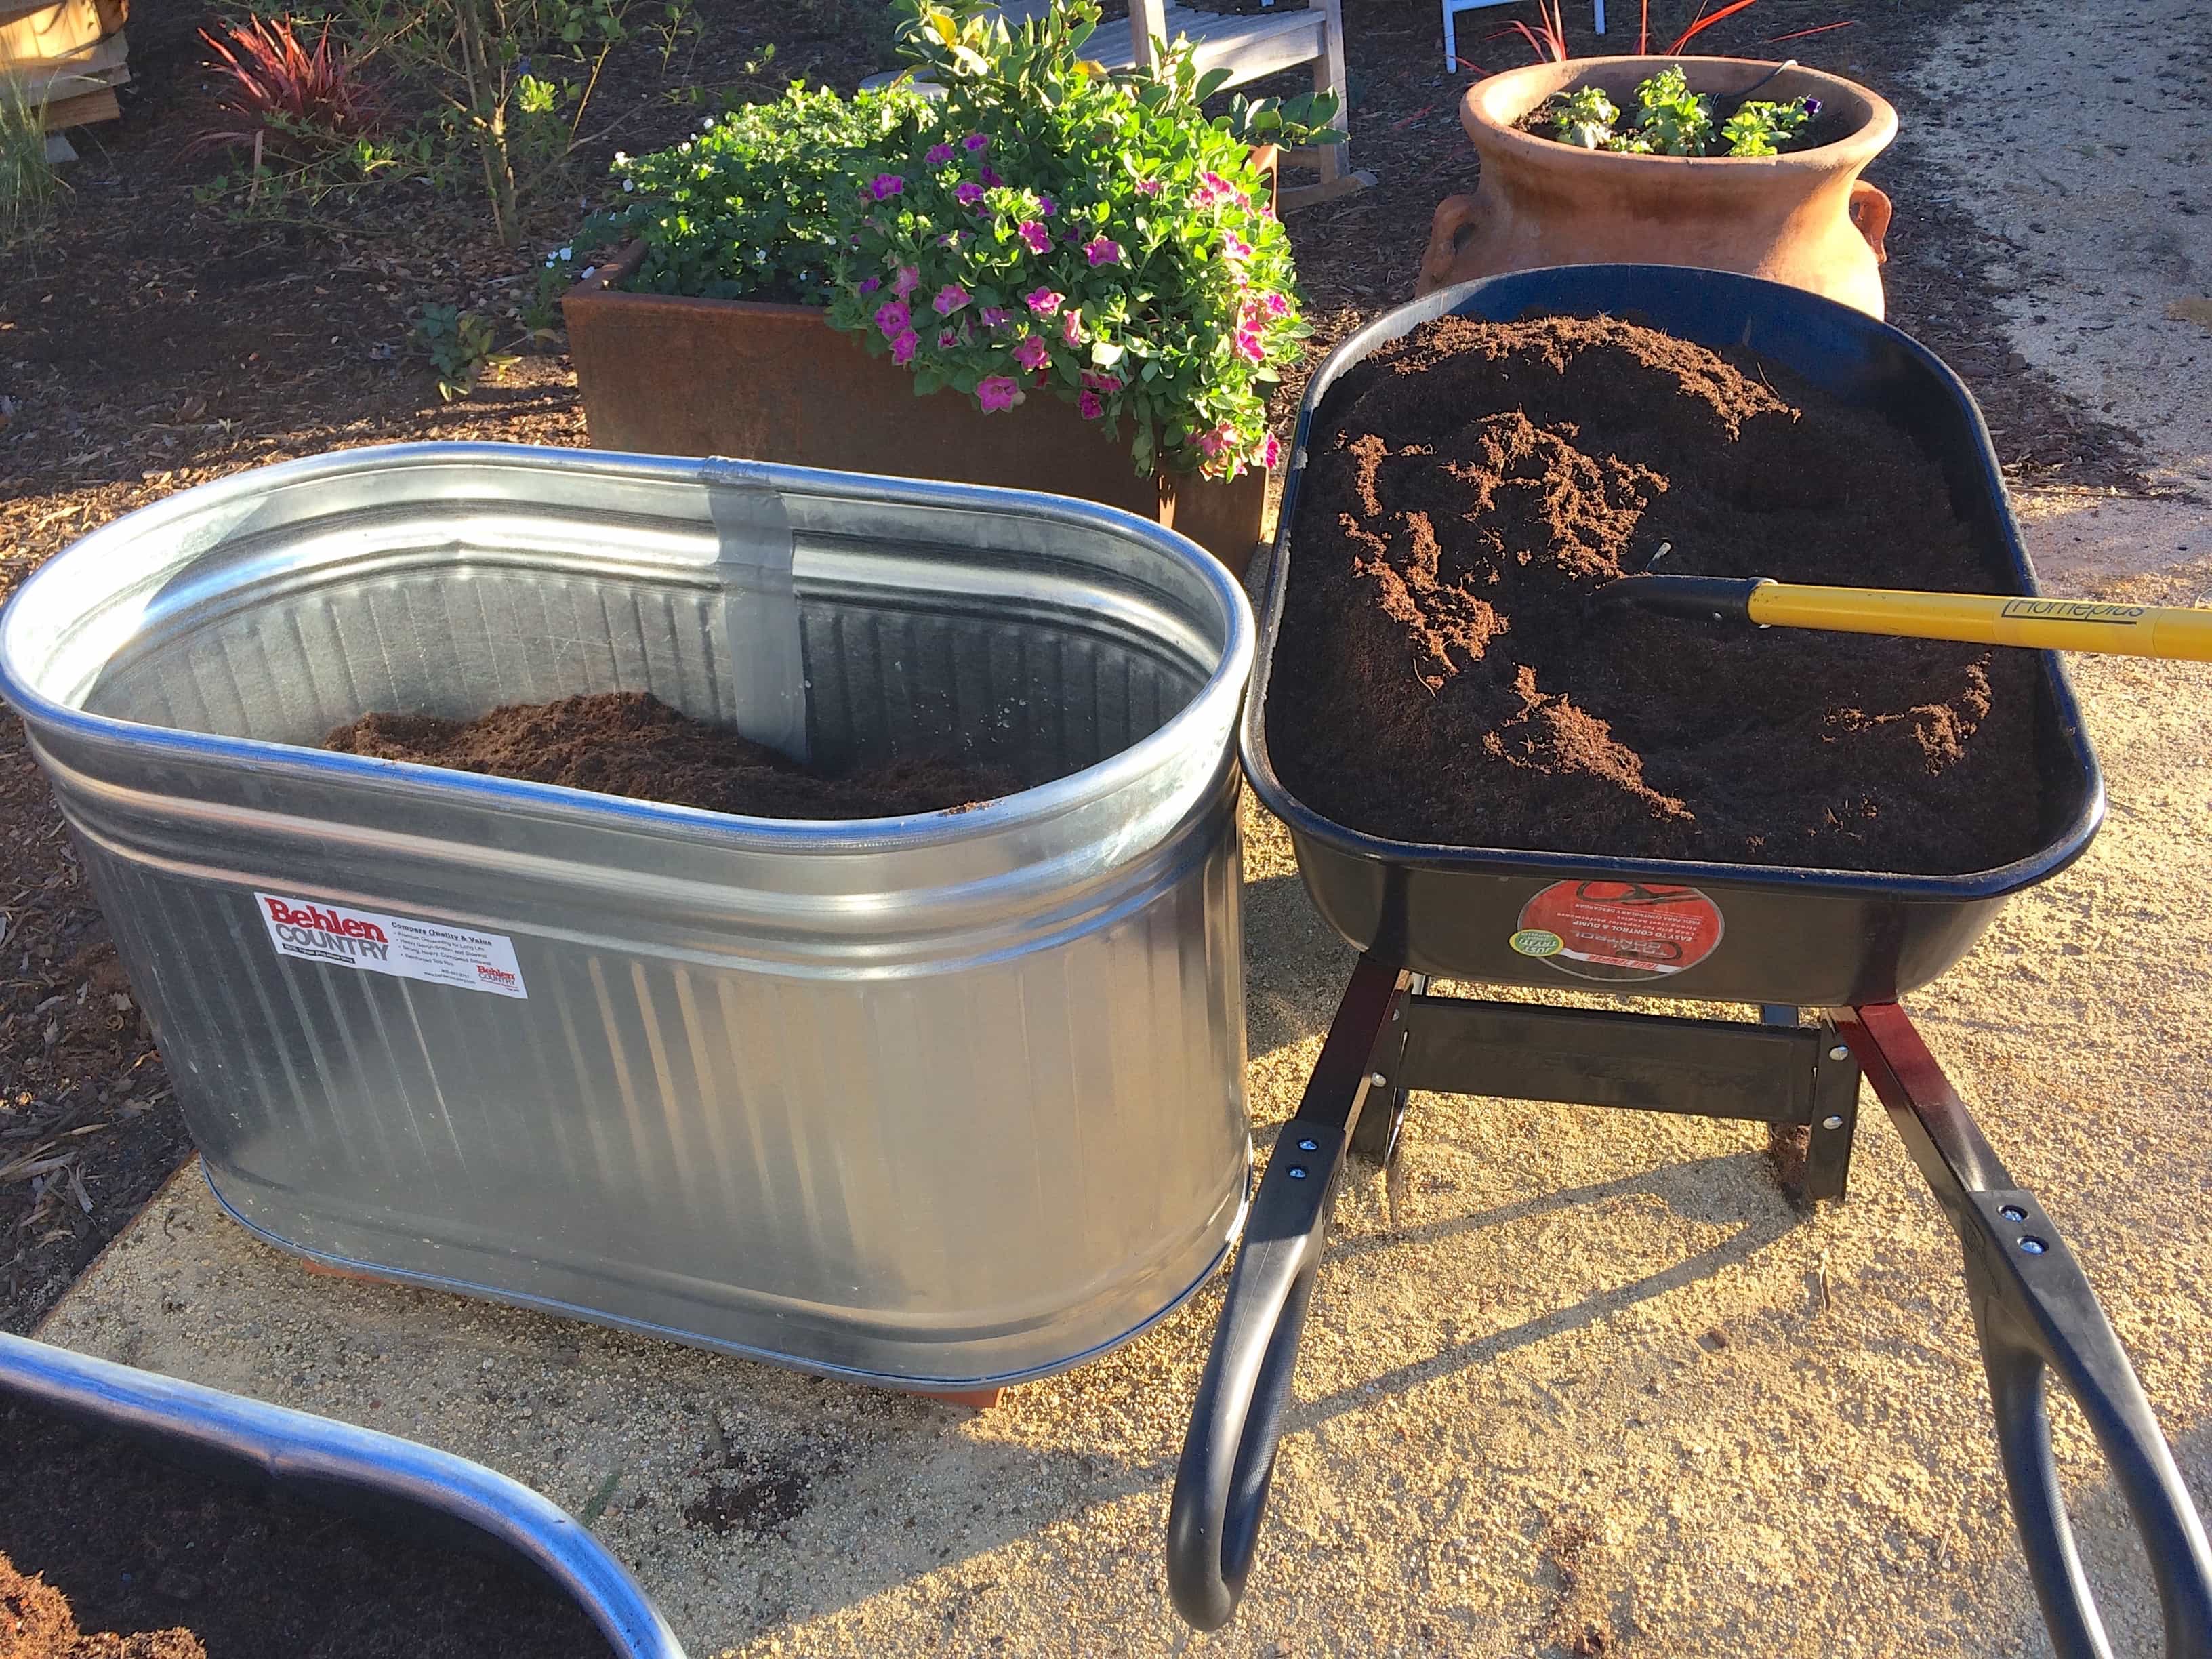
Next I shoveled in some absolutely delicious soil, “ultra bedding mix” from American Soil Products. I had them deliver a yard of it to my driveway, then carried it to my back yard in a wheelbarrow.
Voila! The beds are ready to plant. I ran some irrigation line with in-line emitters at 8″ intervals, and planted zucchini, tomatoes, and peppers.
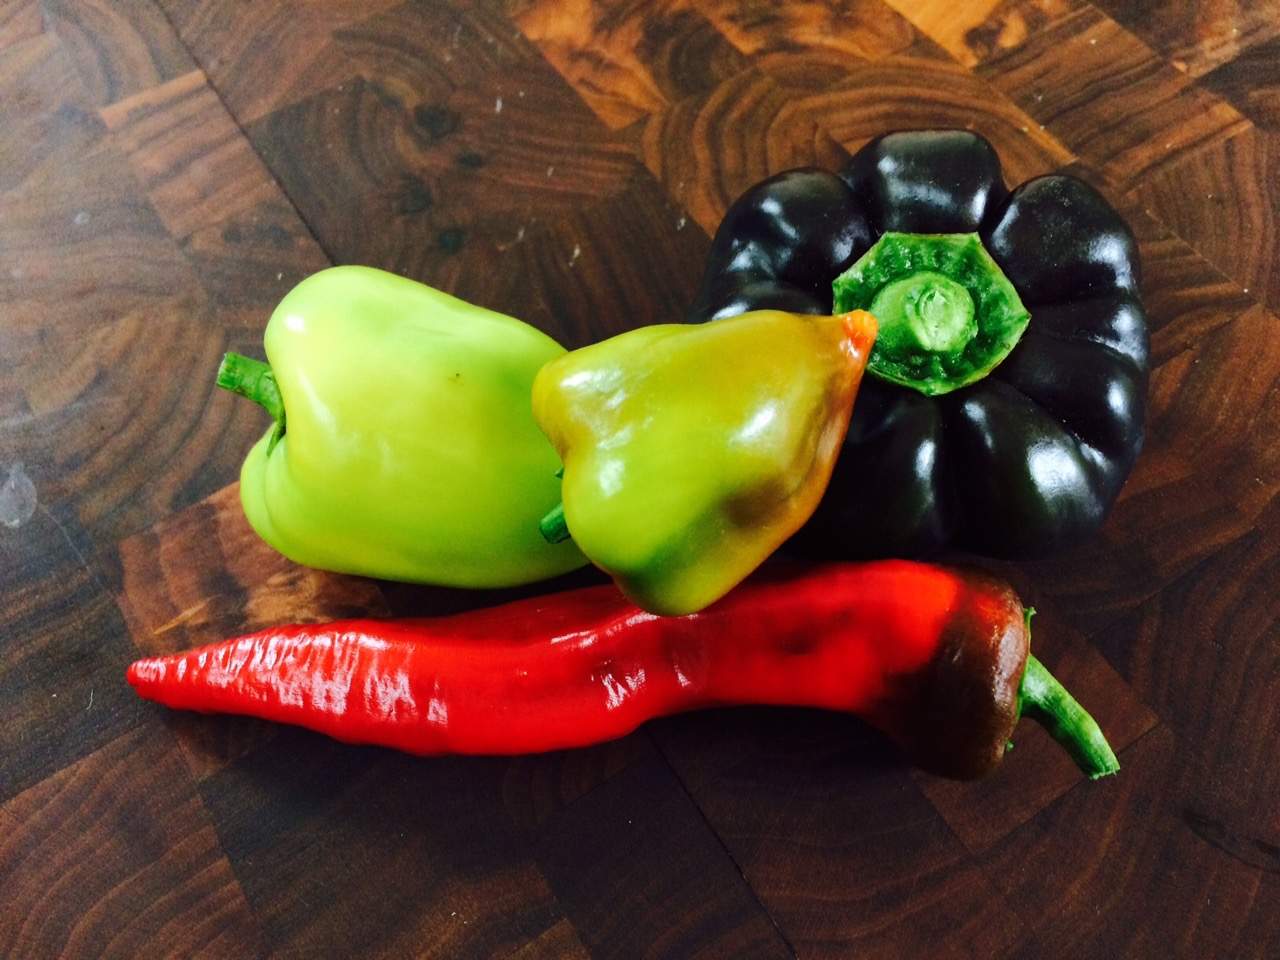
All of the veggies were very happy in their beds, but the peppers especially, which can be finicky, really loved growing in the tank!

 Hello, I’m Holly Rose. I help people buy and sell homes in the East Bay. I specialize in fine old homes with interesting or historically significant architecture.